What are Categories?
Categories are used to organize your packages into different sections. You can create categories for different types of packages like ranks, items, or permissions. You can also create subcategories to further organize your packages.Creating Categories
To create a new category, follow the steps below:1
Go to the Admin Panel
Navigate to the Admin Panel of your application.
2
Click on Packages Tab
Click on the Packages tab to access the package management area.
3
Add New Category
Press the + Add New button and select Category from the dropdown menu.
4
Fill in the Fields
Complete the following fields:
- Name: Enter the name of the category.
- Description: Add a description of the category (optional).
- Image: Upload an image for the category (optional).
- Category URL: Specify the URL for the category (e.g.,
ranks). - Display Type: Choose how the category will be displayed (e.g.,
grid,comparison, orlisting). - Advanced Settings: Decide if the category should be hidden from the webstore, if it should be a subcategory, or if it should cumulate purchases within the category so customers pay only the difference when buying a higher-priced package.
5
Save the Category
Press the Save button to create the new category.
Category Display Types
Categories can be displayed in different ways on your webstore. You can choose any style that suits your webstore design.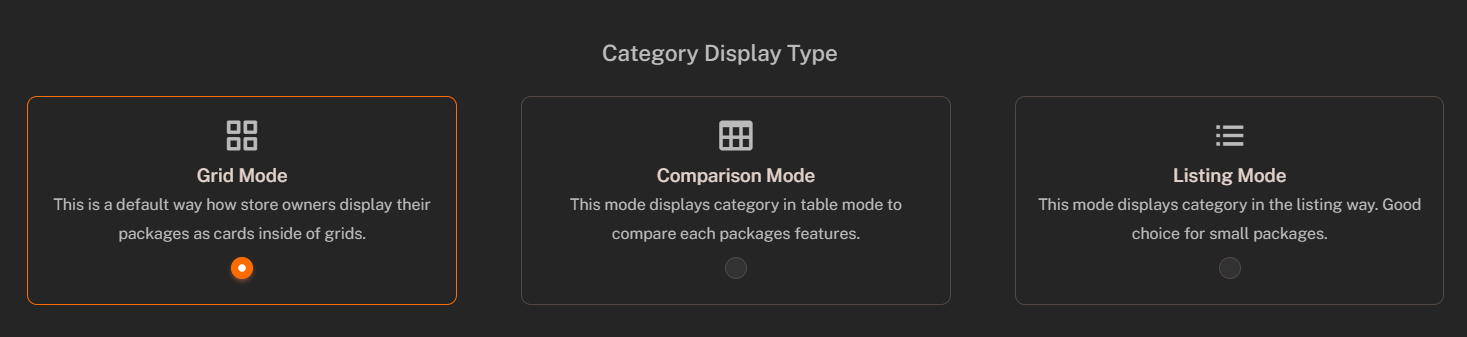
Grid Cards (default)
The Grid Cards display type shows the categories as cards with an image and a title. This style is suitable for categories with a large number of packages.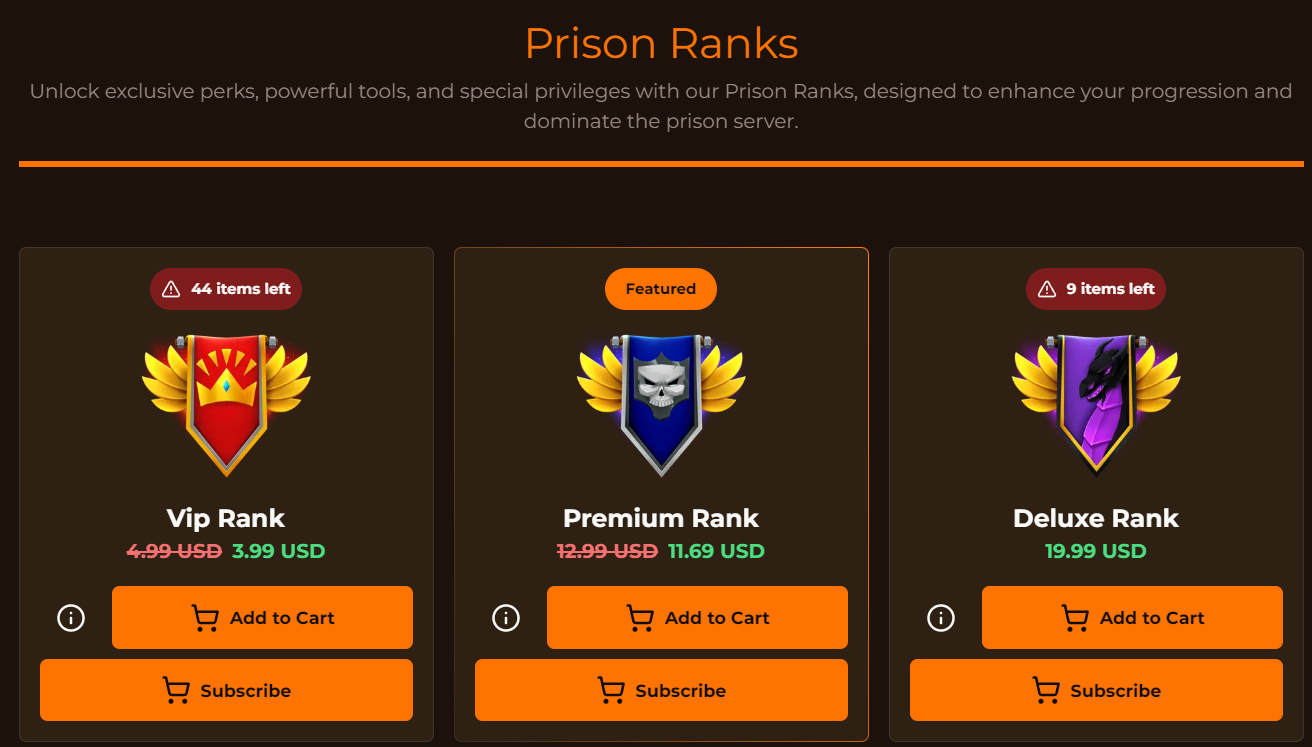
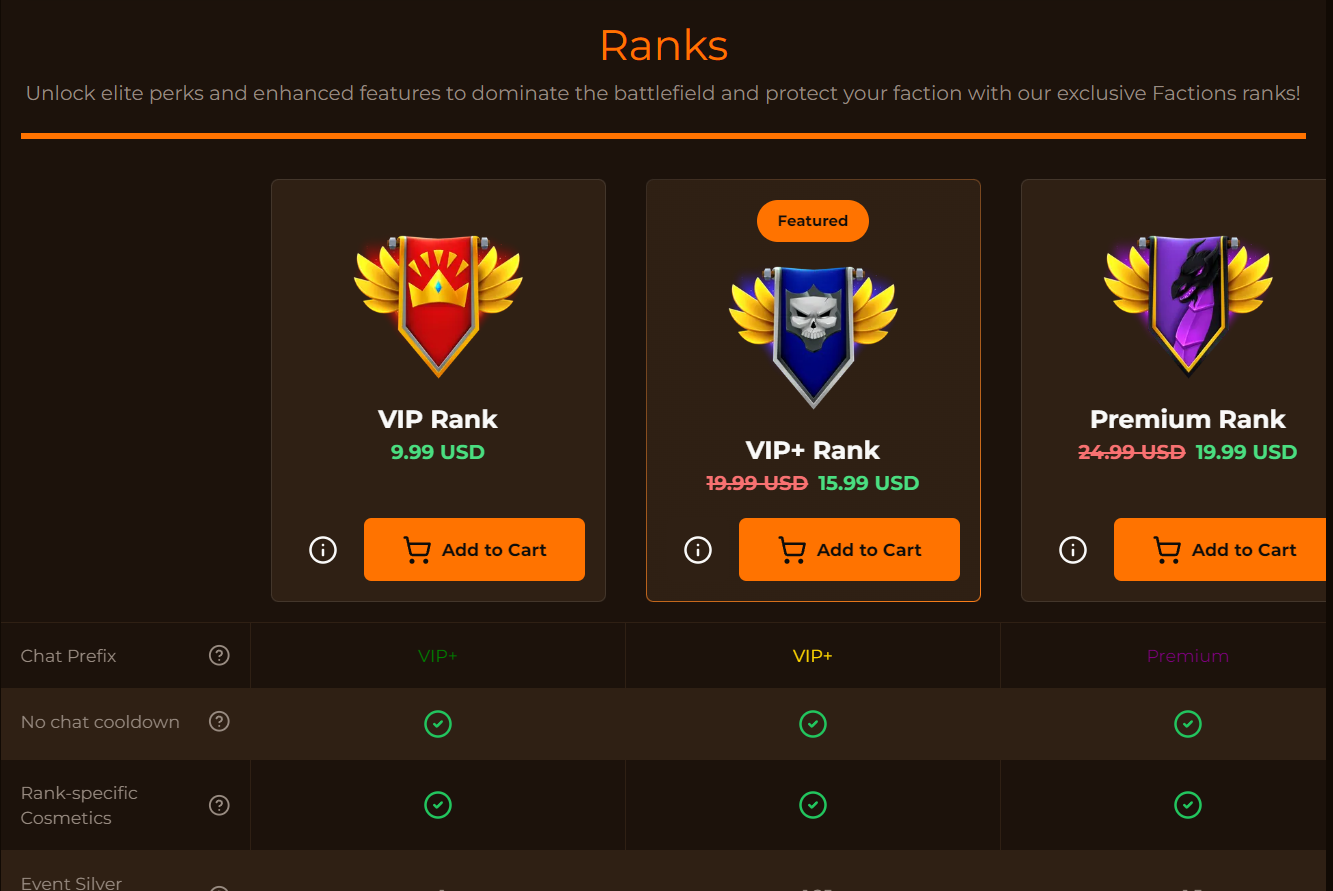
Comparison Table
The Comparison Table display type shows the categories in a table format. This style is suitable for categories with a small amount of packages.Add a Comparison Options field to categories to enable the comparison table. This allows you to compare the packages included in each category.
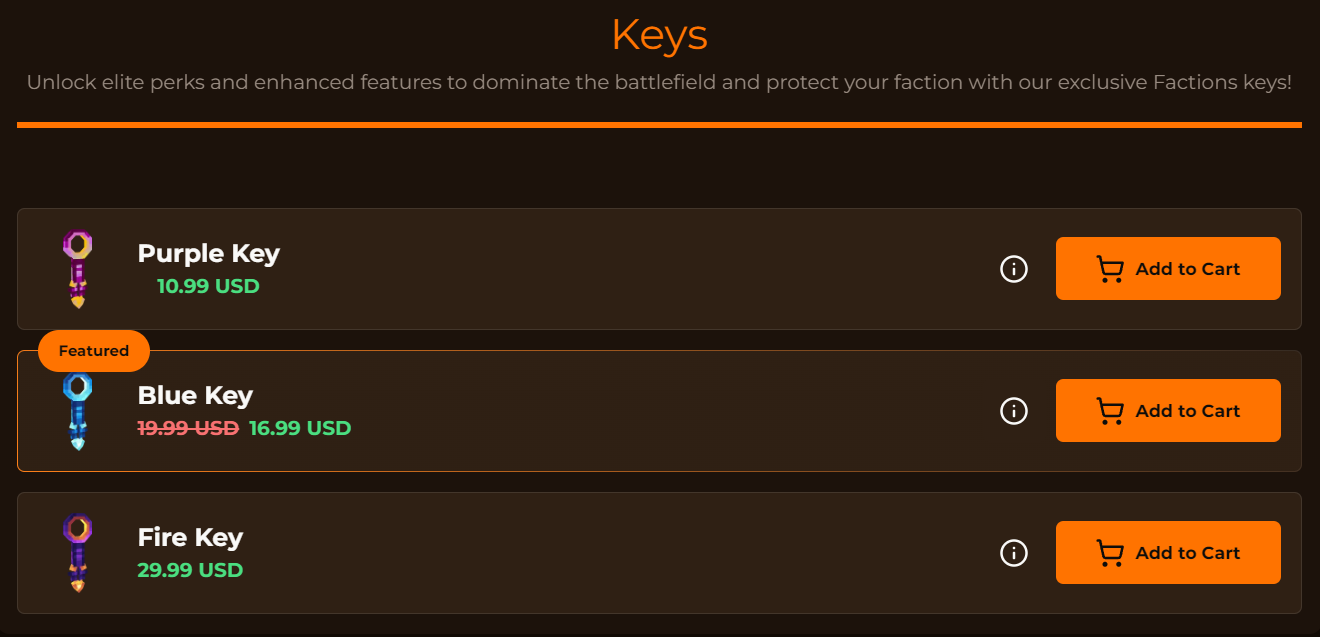
Listing
The Listing display type shows the categories as a list with an image and a title. This style is suitable for categories with a medium number of packages.