Introduction
MineStoreCMS version 3.5.0 is a major release that includes new features, improvements, and bug fixes. This guide will help you to upgrade your webstore from version 3.4.5 to 3.5.0.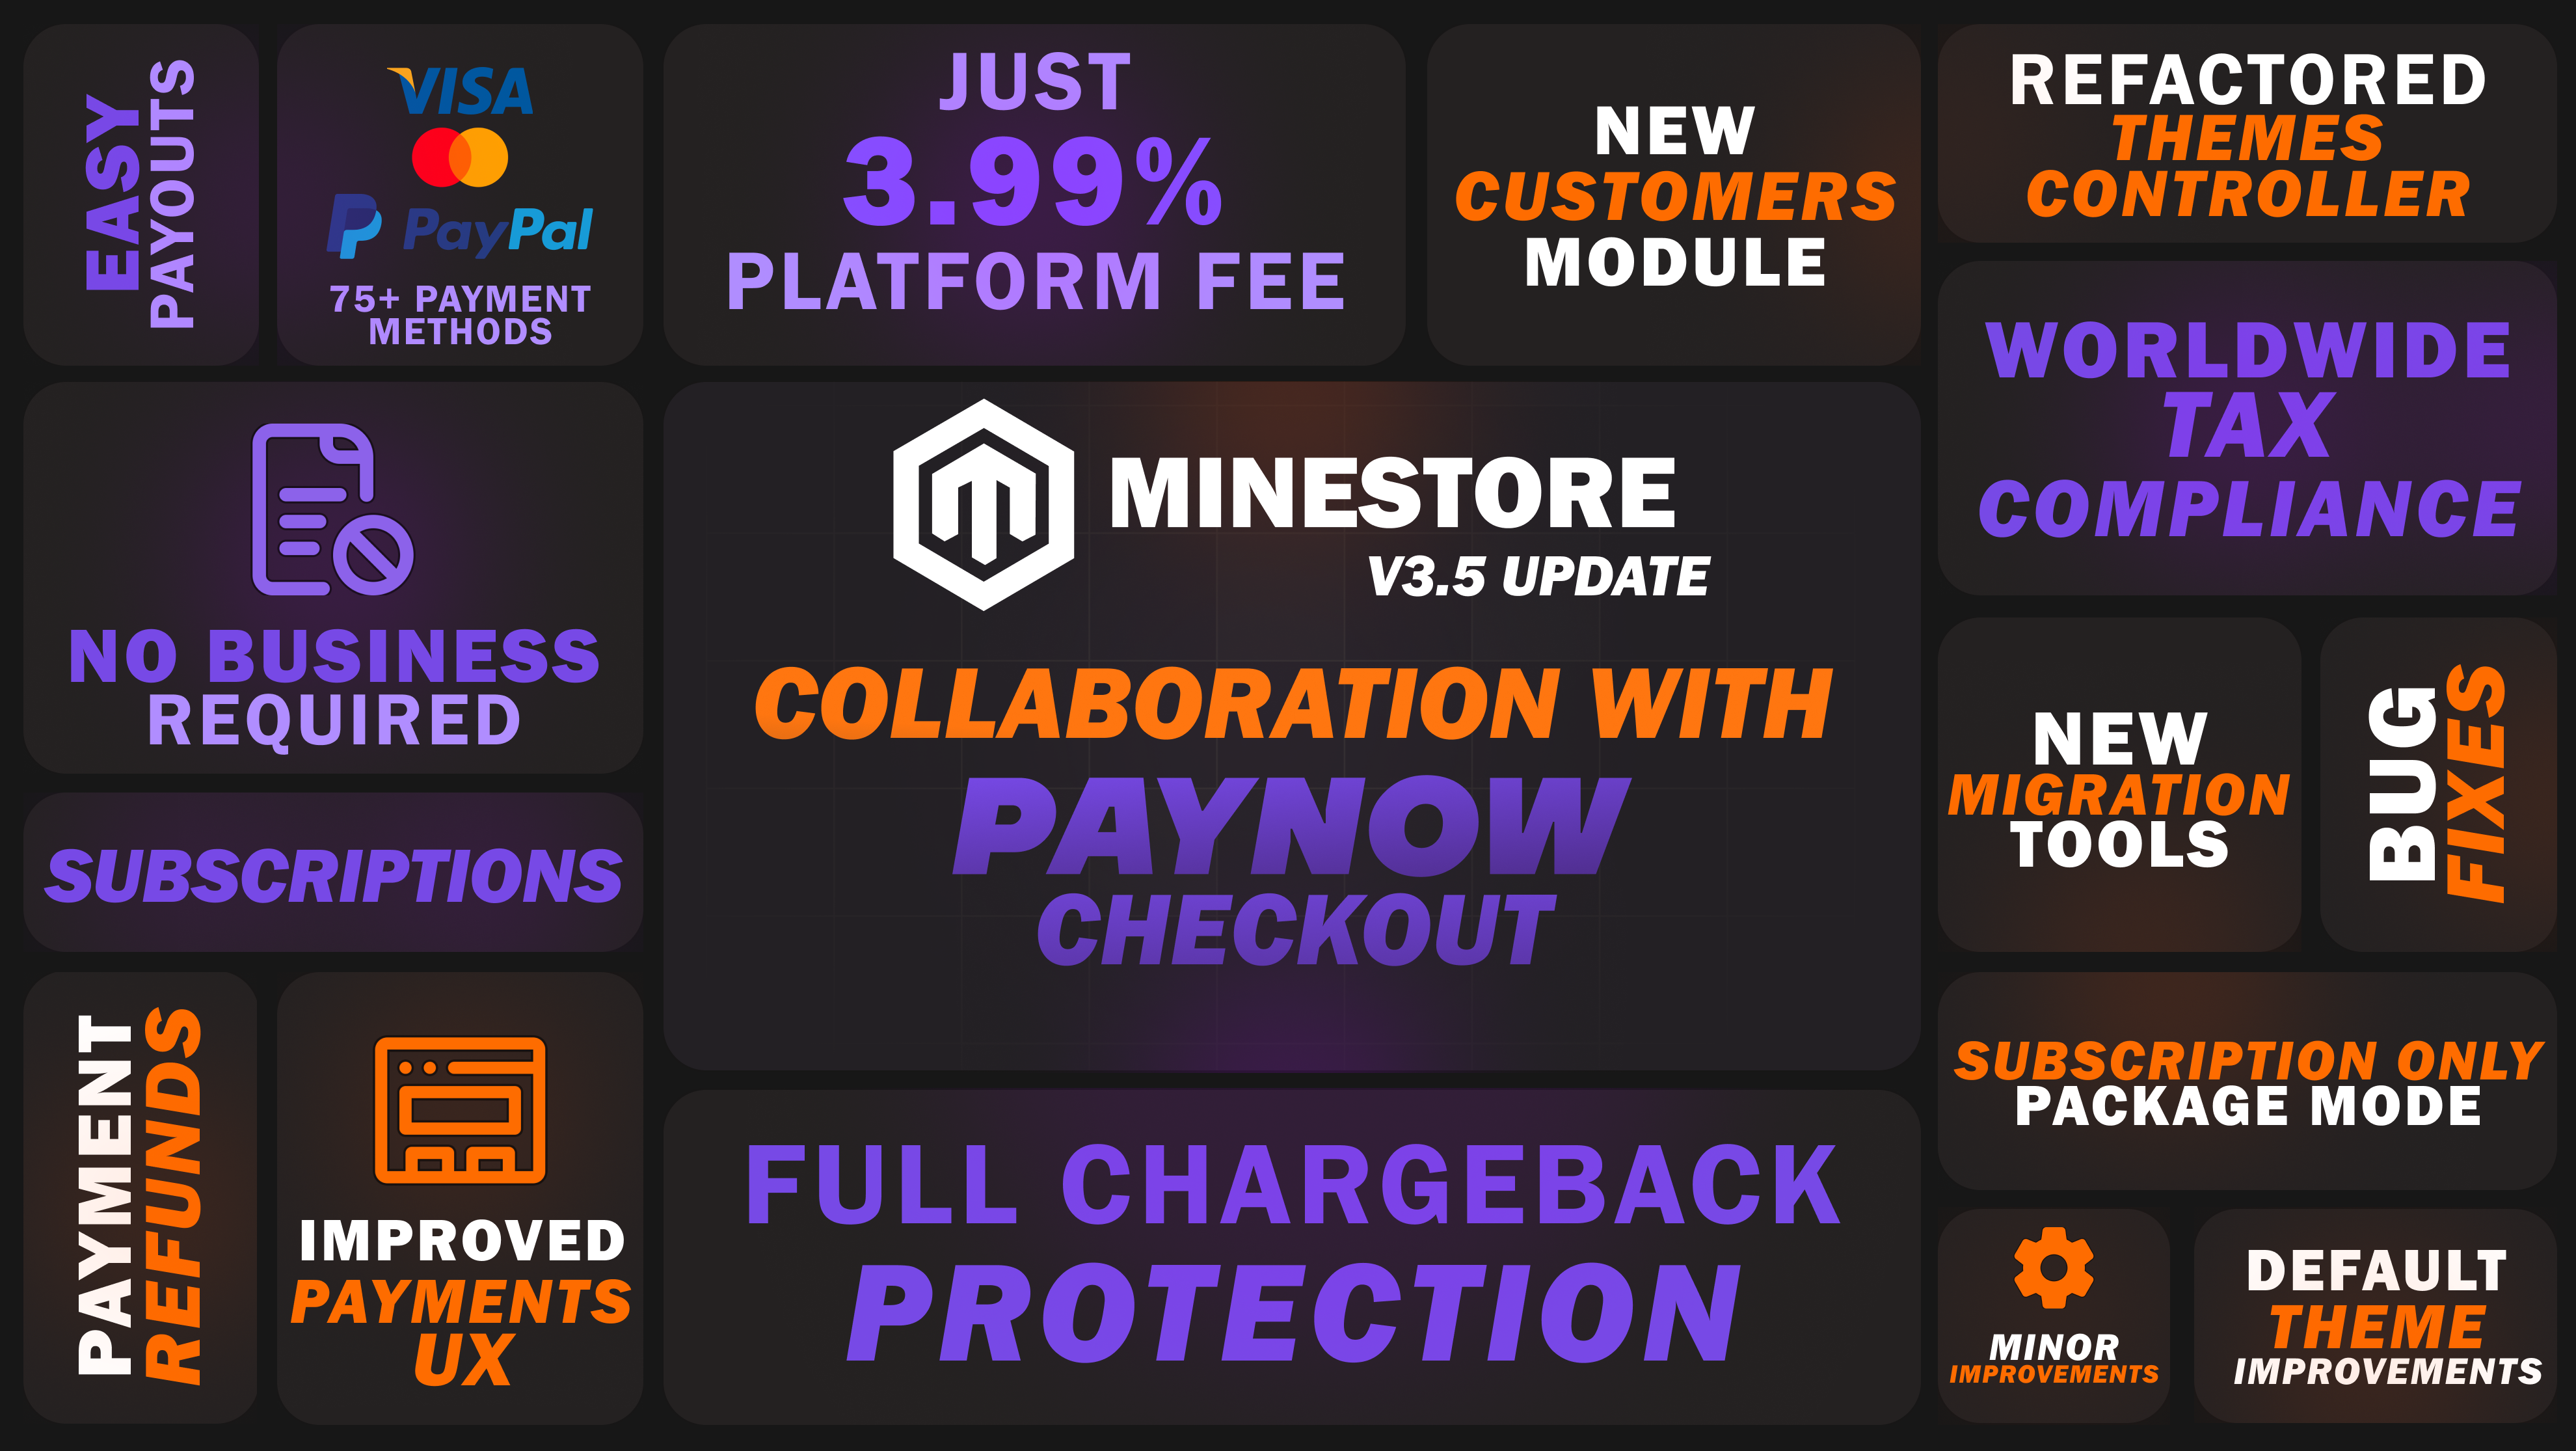
New Global Features
The MineStoreCMS 3.5.0 includes the following new features:- PayNow Checkout: A new payment gateway that provides Full Chargeback Protection and Global Tax Compliance. It allows you to accept payments from customers worldwide.
- New Customers Module: A new module that allows you to manage your customers more effectively. You can now view customer details, purchase history, subscriptions, chargebacks, and more.
- Subscriptions Only Mode: Specify only subscription packages to be available for purchase in your store. Without “Regular Payment” option at the same time.
- Migration Tools: Easily migrate from Tebex to MineStoreCMS with the new migration tools. This feature allows you to import your packages, categories, and packages from Tebex to MineStoreCMS.
- Payments/Subscription UX Improvements: Improved user experience for payments and subscriptions, making it easier for you to refund payments and close subscriptions directly from the dashboard.
- Minor Improvements: Such as improved Default Theme, Refactored Important Controllers, and Bug Fixes.
Upgrade Steps
To upgrade your MineStoreCMS from version 3.4.5 to 3.5.0, follow these steps:- Run Automatic Updater from the Admin Panel.
- Install the new dependencies by running the following commands in the terminal:
- Update the Theme to the latest version:
Themes > Upgrade(KEEP IN MIND: IT WILL OVERWRITE YOUR CUSTOM CHANGES IN THE THEME!!!). If you have made custom changes to the theme, you will need to reapply them after the update. - Update the Minecraft Plugin to the latest version on each server.
- Done! Your MineStoreCMS is now upgraded to version 3.5.0.
- Go to Themes tab and upgrade your theme to the latest version. If you have made custom changes to the theme, you will need to reapply them after the update since your previous theme will be overwritten with the new one.
Upgrade Script Guide
The upgrade script is designed to automate the upgrade process and ensure that all necessary changes are applied to your MineStoreCMS installation. After running the upgrade script by executing the command (run by usingroot user or sudo):
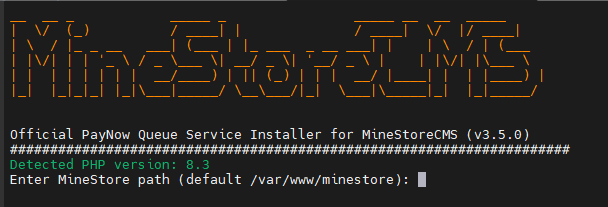
- Enter your site path (e.g.,
/var/www/minestore) where your MineStoreCMS is installed. If you didn’t change the default path, you can leave it empty and press Enter. - The script will check for the MineStoreCMS installation and prompt you to confirm the upgrade. Type
Yand press Enter to proceed with the upgrade. - It will ask you for composer dependency installation. Press Enter to install the required dependencies.
- The script will then proceed to update the database schema, clear the cache, and perform any other necessary updates.
- Follow other installation instructions and read the results.
- Once the upgrade is complete, you will see a success message indicating that your MineStoreCMS has been successfully upgraded to version 3.5.0.
Updating Nginx Configuration
Automatic updater will also update your Nginx configuration to ensure that it is compatible with the new version of MineStoreCMS. But if during the upgrade you face any issues with the Nginx configuration, you can manually update it by following these steps:- Open your Nginx configuration file for your webstore (usually located at
/etc/nginx/sites-enabled/minestore.conf). - Add the following lines to the
location /block, so it might look like this:
- Same for
location /_next/static/andlocation /staticblocks, so it might look like this:
Troubleshooting
If you face any issues during the upgrade process, you can contact our support team for help. We are always here to help you with any issues you face during the upgrade process.Useful Links
Download Official Plugin
Download the official MineStoreCMS plugin for your Minecraft server.
Migration Tools
Learn how to migrate from Tebex to MineStoreCMS using the new Migration Tools.