Introduction
Sales are a great way to offer global and automatic discounts to your customers. You can create sales to offer discounts on specific packages or categories. The sales will be applied automatically to the products that match the criteria.Creating a Sale
1
Go to Sales
Go to the Discounts > Sales tab in the sidebar.
2
Create a Sale
Click on the ”+ Create a Sale” button.
3
Fill in the Details
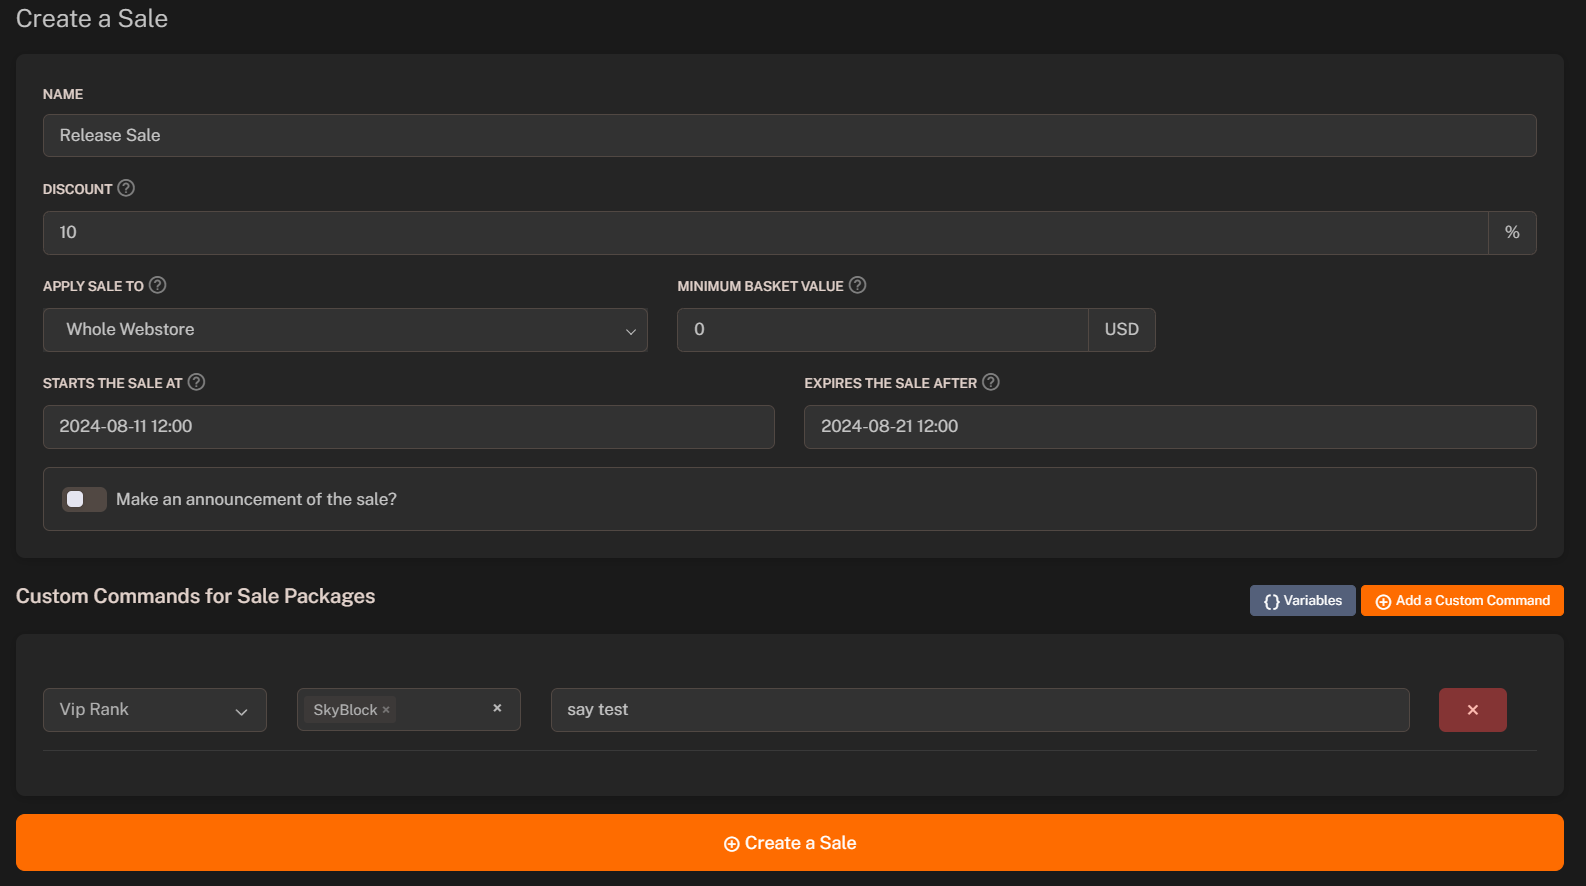
Fill in the sale details like the name, discount, apply sale to, minimum basket value and start/end date.
4
Configure Announcement (Optional)
You can configure the announcement settings to display a message on the webstore when the sale is active.
5
Setup Global Commands to Execute (Optional)
You can setup global commands to execute when the sale is active. The global commands will be executed automatically with every purchase during the sale.
6
Save the Sale
Click on the “Create a Sale” button to create the sale.
Apply Sale To
You can set the apply sale to field to apply the sale to specific groups of products.Whole Webstore
The coupon will be applied to the whole webstore.
Categories
The coupon will be applied to specific categories.
Packages
The coupon will be applied to specific packages.
Minimum Basket Value
You can set the minimum basket value required to use the sale. The sale will be applied only if the basket value is greater than or equal to the minimum basket value. Default value is0, so the sale can be applied to any order.
Start / End Date
You can set the start and end date for the sale. The sale will be active between the start and end date.The sale will be active based on the Server Time and MySQL Time.
Setting Up Announcement
You can configure the announcement settings to display a message on the webstore when the sale is active.- Enable “Make an announcement of the sale” option.
- Enter following details:
- Title: Enter the title of the announcement.
- Content: Enter the description of the announcement.
- Button Text: Enter the button text for the announcement (Optional).
- Button URL: Enter the button URL for the announcement (Optional).
Adding Custom Commands
You can setup custom commands to execute when the sale is active. The custom commands will be executed automatically with every purchase during the sale.- Scroll down to the Custom Commands section.
- Click on the ”+ Add a Custom Command” button.
- Enter following details:
- Package: Select the package to execute the command after purchase.
- Servers: Select the servers to execute the command.
- Command: Enter the command to execute.